Victorian Junk Journal Making: A Step-by-Step Guide for Beginners
A junk journal is far more than a diary; it is an intimate time capsule of tactile memories, antique documents, whispered notes, and hand-stitched archival relics. If you have been enchanted by Victorian interactive folios on Instagram or Pinterest but felt overwhelmed by measurements, this comprehensive step-by-step guide is your blueprint.
Step 1: Anatomy of an Interactive Trifold Folio
Unlike a standard bound notebook, an interactive Victorian folio contains hidden pockets, waterfall flips, coin envelope clusters, and secret tuck spots. Rather than cutting individual pieces of cardboard from scratch, using a dedicated Folio Base Kit provides mathematically calibrated fold tabs, gusset allowances, and pre-aligned cut marks.
Step 2: Scoring, Folding & Gusset Allowances
Paper memory is critical. When folding 65 lb coverstock, never fold by hand without scoring first—doing so cracks the toner and paper fibers. Place your printed folio base onto a scoring board and run a bone folder firmly down the marked score lines. For multi-layer folios, always allow a 1/8" to 1/4" spine gusset so your journal can expand gracefully as you tuck in ephemera, tags, and dried flowers.
Step 3: The 3-Hole Pamphlet Stitch (No Complicated Bookbinding Equipment)
Binding your paper signatures into the folio base takes less than five minutes with the classic three-hole pamphlet stitch:
- Nest 4 to 6 folded sheets of tea-stained papers and antique book pages into a "signature."
- Use an awl to pierce three evenly spaced holes along the center fold: one in the center, and one approximately 1.5 inches from each edge.
- Thread a blunt tapestry needle with waxed linen thread (approx. 2.5 times the height of your spine).
- Go down through the center hole from the outside in, up through the top hole, down through the bottom hole, and back up through the center hole.
- Ensure the two loose thread ends lie on opposite sides of the long vertical spine thread, pull taut, and tie a firm square knot.
Step 4: Layering Pockets, Belly Bands & Waterfall Flips
Adhesion matters: Always use a high-tack, low-water archival craft glue (like Art Glitter Glue with the fine metal tip or Bearly Art Precision Glue). Standard white school glue contains too much water, causing thin paper to buckle and wrinkle.
Curated Victorian Kits to Begin Your Project
Begin your junk journaling journey with these complete, battle-tested printable kits from Quill & Folio, designed with calibrated tab folds, rich damask patterns, and authentic 19th-century ephemera:
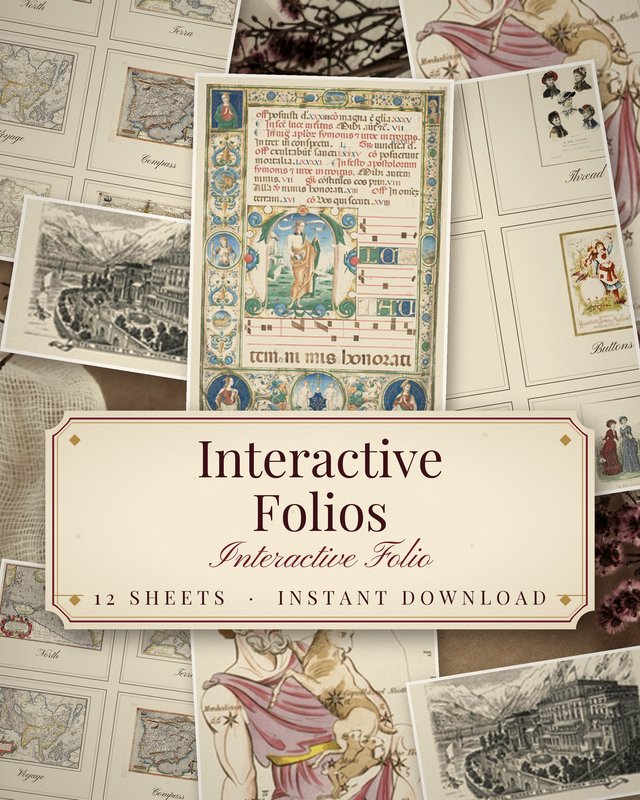
Interactive Trifold Folio Base Kit (12 Printable Sheets)
Pre-designed folio covers, expandable accordion pockets, coin envelopes, and slide-in tags.
View on Etsy →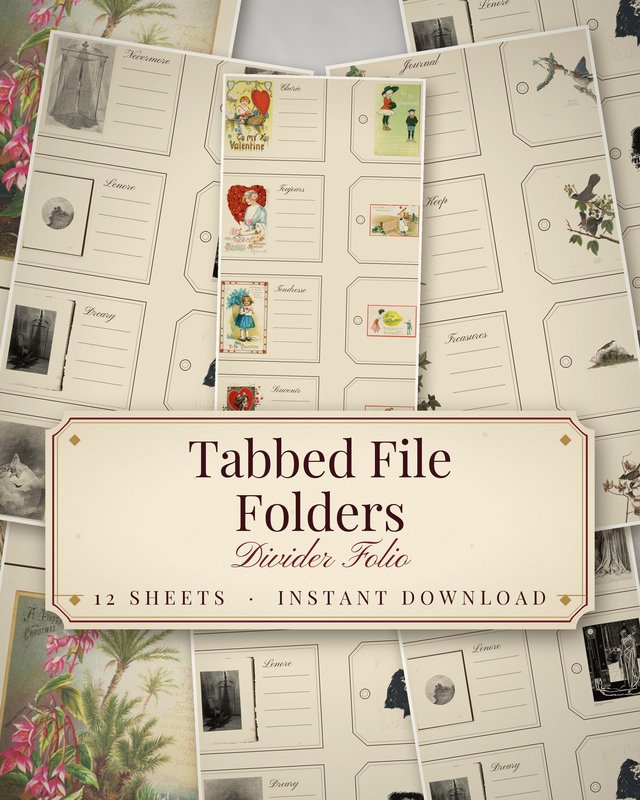
Victorian Tabbed File Folder Kit (12 Archival Sheets)
Antique index tabs, library card pockets, archival document sleeves, and distressed tags.
View on Etsy →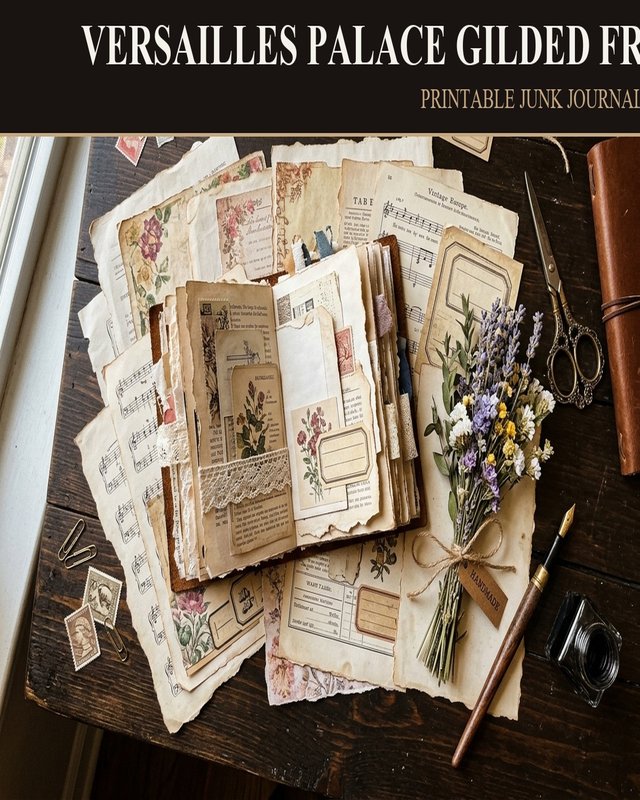
Versailles Palace Gilded Damask (50-Page Master Kit)
50 master printable pages, rococo gold damask, French script letters, and gilded filigree fussy cuts.
View on Etsy →Download Free Journal Ephemera & Tags
Claim our complimentary printable starter pack featuring authentic tea-dyed book covers and cut-out tags.
Claim Free Ephemera →